Overview
This walkthrough introduces the main controls in the SheetXAI side panel. The exact buttons available can vary with your product, account, and current release, so treat the screenshots as an orientation to the recorded interface rather than a guarantee that every screen is identical today.
Choose a chat mode
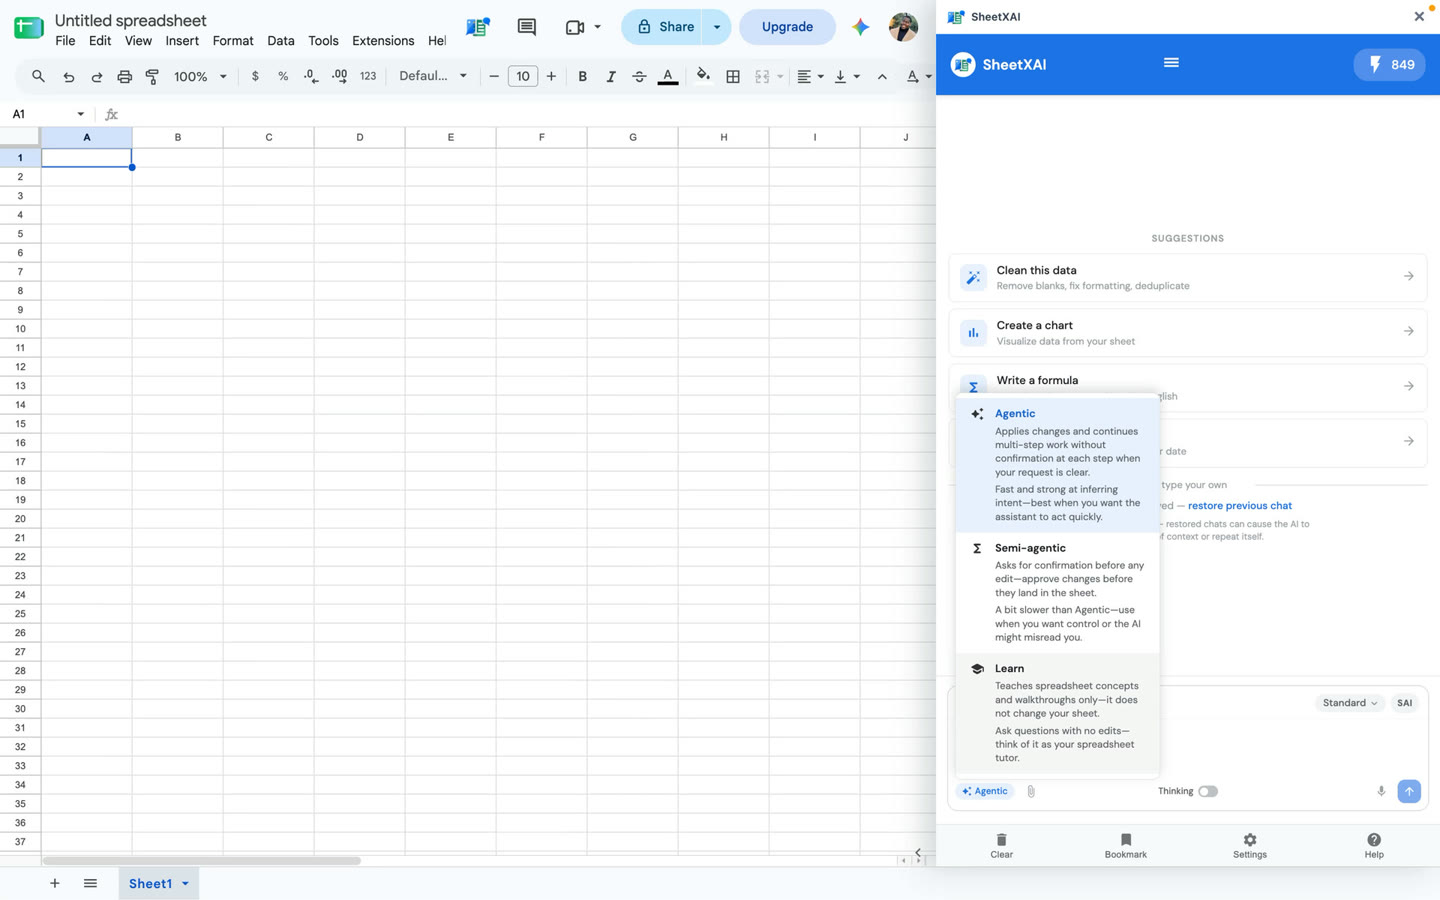
The video shows three modes:
- Agentic: Ask SheetXAI to carry out a spreadsheet task. Review changes and use the response controls if you need to undo or rerun an operation.
- Semi-agentic: Work through a more guided flow when you want to direct or confirm parts of the task.
- Learn: Ask for instructions or an explanation. In the walkthrough, Learn explains how to do the task rather than editing the sheet for you.
Mode names and behavior may change between versions. Read the labels and any in-product explanation before you run a task.
Choose the sheet context
Click Current Sheet to open the options for Add sheet and Add selection. You can also type @ to refer to another sheet. Check the selected context before running a task so the agent works on the intended data.
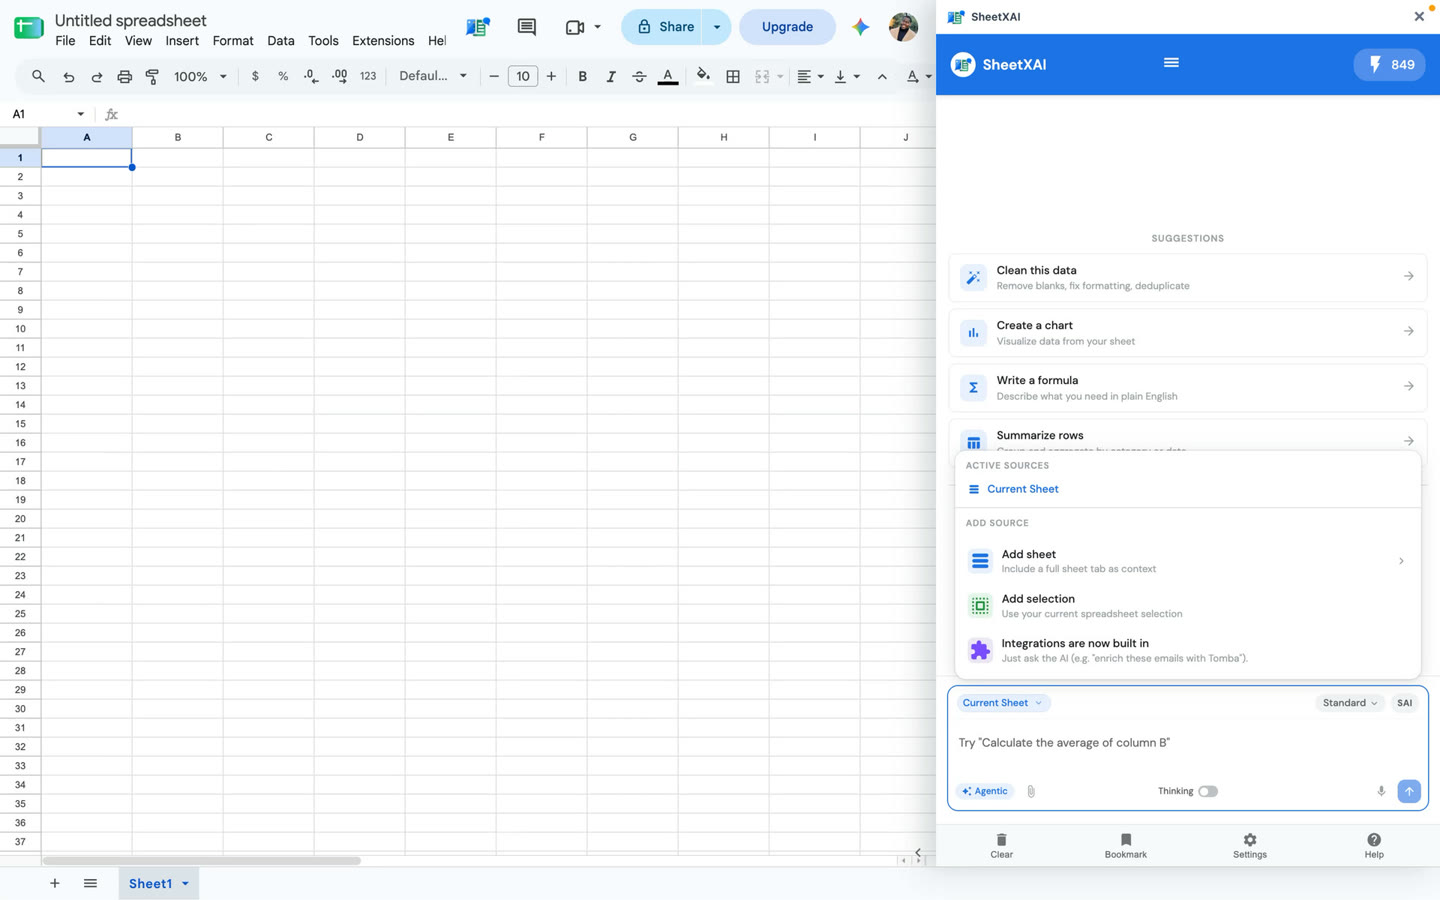
Select only the range or context the task needs. Before running an operation, check that the correct sheet or data is selected and avoid including sensitive information unnecessarily.
Input, model, and account controls
The composer includes Send, a microphone for voice input, and an attachment control for images or PDFs. In the recorded interface, right-click the microphone to choose the language and recognition keywords. The model selector chooses a model for the task. Thinking can enable additional reasoning for models that support it; it is not available for every model.
Settings is where the walkthrough shows chatbot and content model choices and billing-related controls. Help opens a contact/support entry point. Bookmarks stores prompts to reuse, and Clear starts a fresh chat without the prior conversation. Save anything you need before clearing.
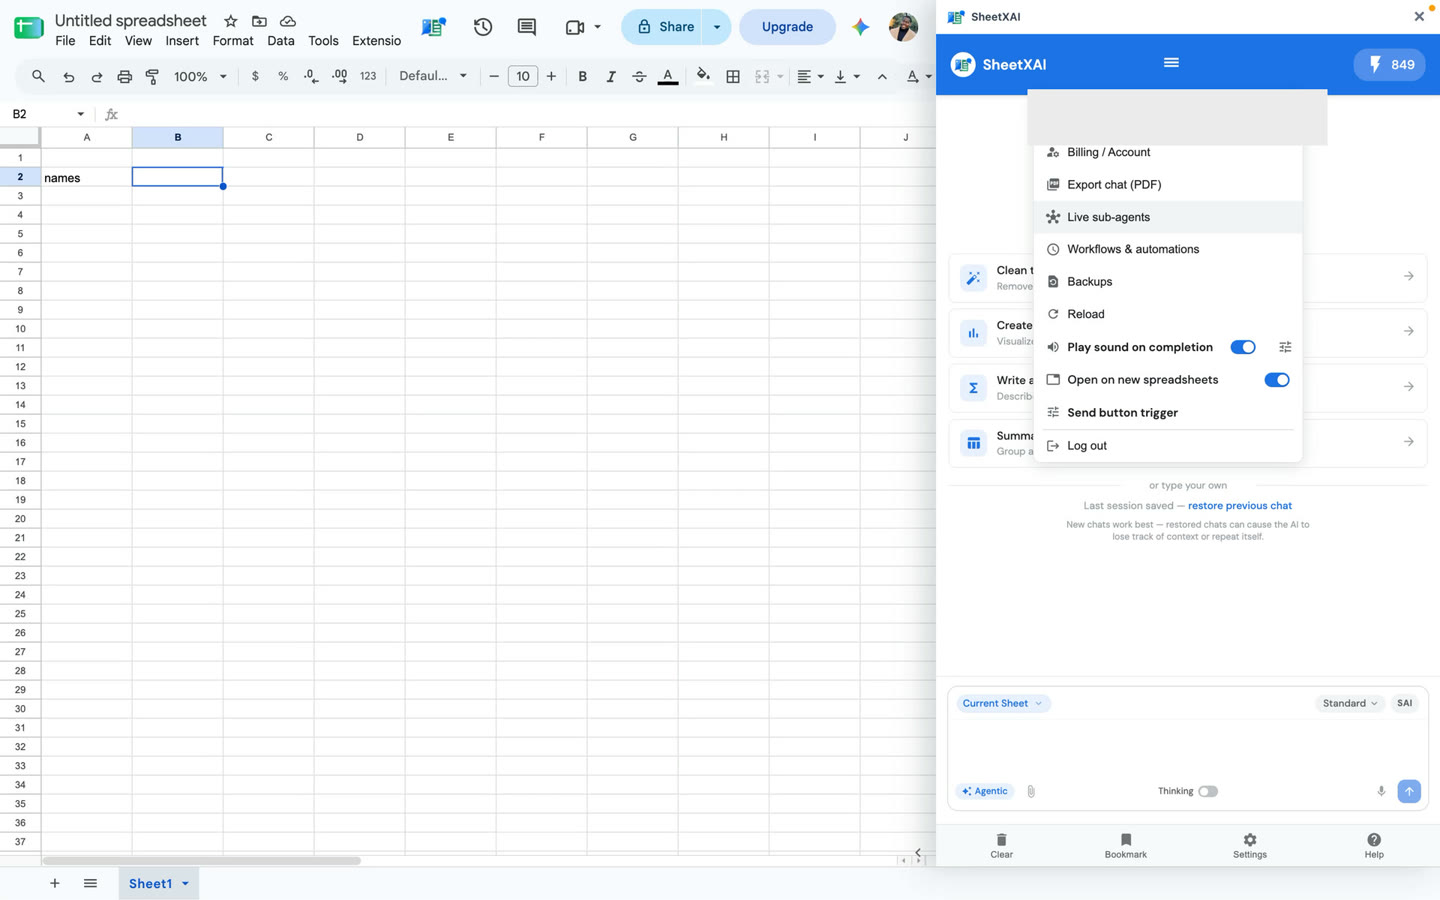
The account menu shown in the recording includes billing, export, live agents, workflows and automations, backups, and controls for sound on completion, new sheets, and send triggers. Live agents can be configured to run when new rows are added; saved workflows can be run again. The Backups area lets you review backups and restore a copy stored locally. The screenshot masks the account identity.
Controls on a response
The walkthrough shows Expand, Undo, Retry, Report, and message actions such as bookmark, copy, and edit. Expand reveals a fuller view of a response. Undo reverts the changes from an operation; Retry runs the operation again. If you want to rerun after an unwanted change, undo first, then retry, so the earlier result is not left in the sheet. Report sends feedback about a response.
The SAI subagent builder is another entry point shown in the interface tour. Use it when you want to set up row-by-row subagent work through a guided builder rather than typing the full task into chat.
Before running a task
- Confirm the spreadsheet and relevant range.
- Choose the mode that matches whether you want the agent to act or guide you.
- Review model and other settings that affect the task.
- State the requested output and where it should go.
- Inspect the result; use Undo before Retry when you need to replace an earlier change.
For related instructions, see Using Bookmarks in SheetXAI, Using the Clear Chat Feature in SheetXAI, Using the Image & PDF Upload Feature in SheetXAI, and Recommended AI Model Settings in SheetXAI.